REINOGRIP installation instructions
The assembly for the repair coupling can be found below

 Observe the minimum chamfer length (fl).
| d | Standard (fl) | Überschieber (fl) |
|---|---|---|
| 90 | 10 | 15 |
| 110 | ||
| 125 | ||
| 160 | 20 | |
| 180 | 15 | 25 |
| 200 | ||
| 225 |

Step 01
Chamfer the pipe
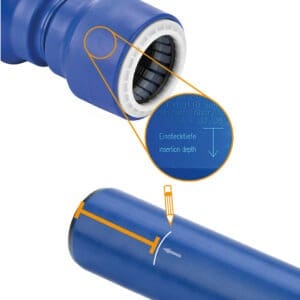
Step 02
Mark the insertion depth using the information on the REINOGRIP sleeve.
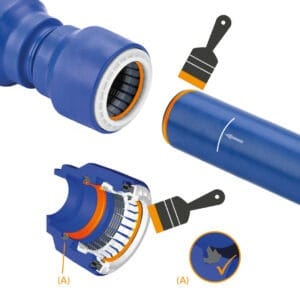
Step 3
Check that the seal (A) is seated correctly. Apply lubricant to the marked areas.
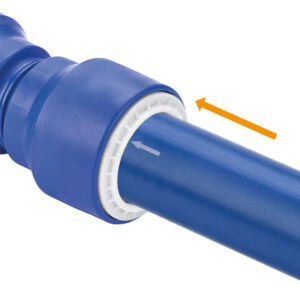
Step 04
Align the pipe and insert it into the push-fit coupling up to the marking.
Assembly instructions REINOGRIP repair clutch

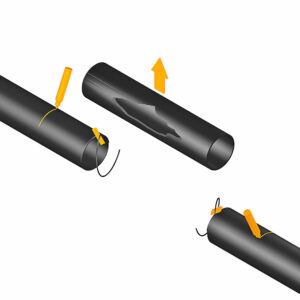
Step 01
Remove the damaged pipe section. Mark the insertion depth. Chamfer both existing pipe ends.

Step 02
Coat the internal seals and the
chamfered pipe ends with lubricant. For drinking water pipes
Only use lubricants with DVGW approval.
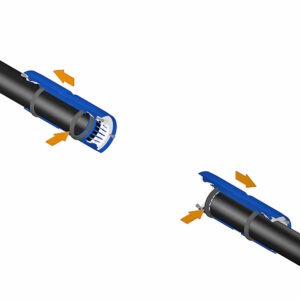
Step 03
Slide the repair couplings up to the second seal
on the respective pipe ends. Pay attention to the position
of the screws.
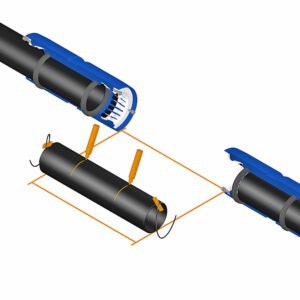
Step 04
Measure the distance between the two
Repair couplings. Adopt the dimension for the new pipe section. Mark the insertion depth. Chamfer both existing pipe ends.
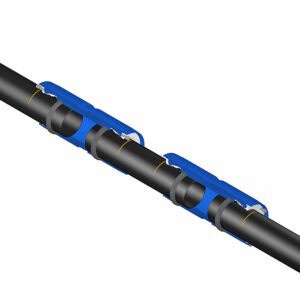
Step 05
Place the new pipe section between the two couplings. Slide the repair couplings up to the respective
Insertion markings.

Step 06
Tighten all screws alternately in three steps,
until the white ring is flush with the end of the sleeve.
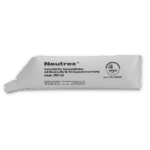
Lubricant for plastic pipes

Chamfering device
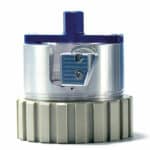
Chamfering bell


